WireGuard VPN
To establish a WireGuard VPN on a MikroTik router for remote devices, you’ll need to configure a WireGuard interface, assign it an IP address, and set up peers for the remote devices. You’ll also need to configure firewall rules to allow connections to the WireGuard server and ensure proper routing for traffic between the remote devices and the MikroTik’s local network.
Prerequisites
- A MikroTik router running RouterOS v7 or later, as WireGuard is not supported in earlier versions
- Remote devices (e.g., smartphones, laptops) with WireGuard client software installed
- A basic understanding of networking concepts like IP addresses, subnets, and routing
Configure the WireGuard Interface on the MikroTik Router
- Navigate to
/interface/wireguardin WinBox or the command-line interface - Create a new WireGuard interface
- Assign a unique name to the interface (e.g.
wg-ca) - Set the MTU (Maximum Transmission Unit), e.g.
1500 - Set the listen port (e.g. keep default
13231) for incoming connections - Keep private key empty and mikrotik will generate it for you
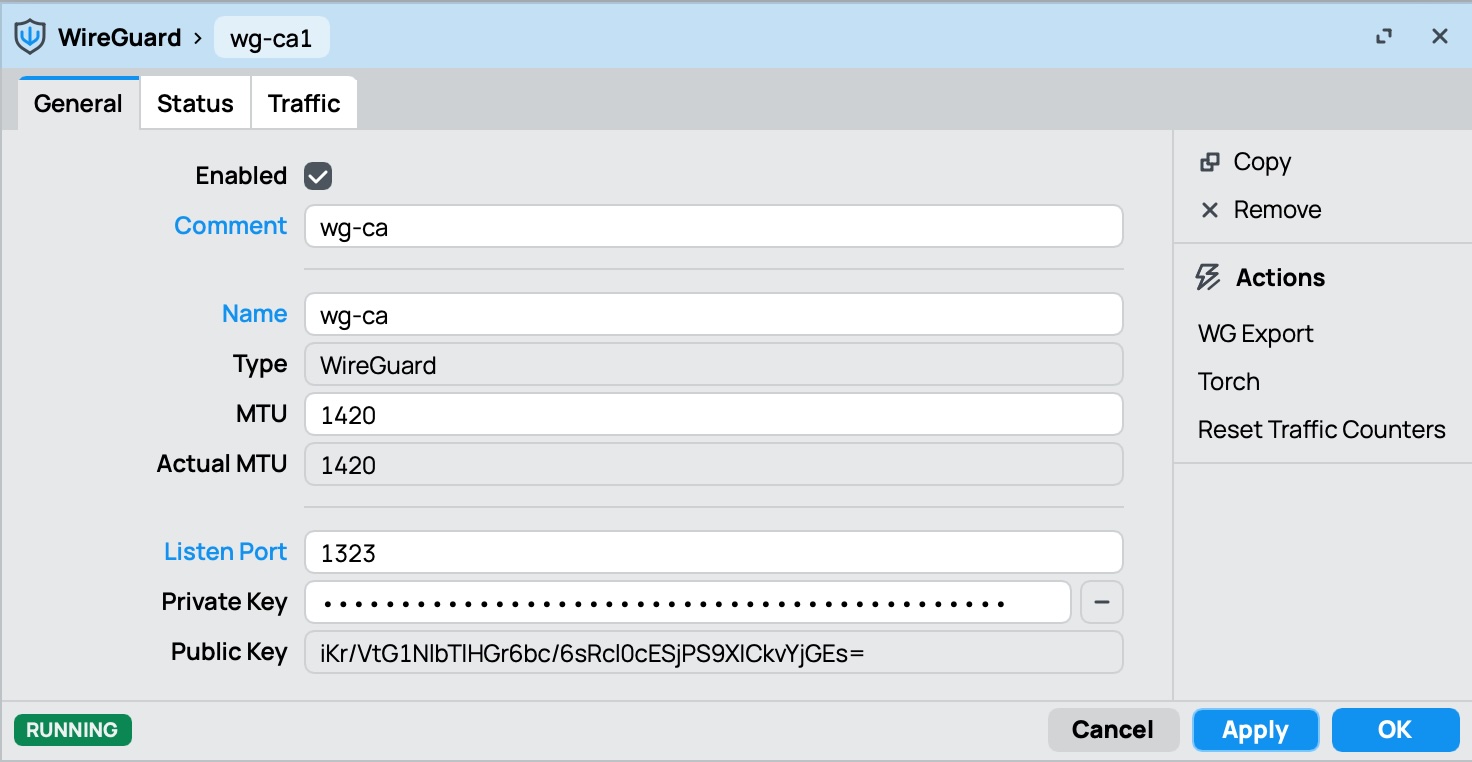
- Press Apply to create the interface
Assign an IP Address to the WireGuard Interface
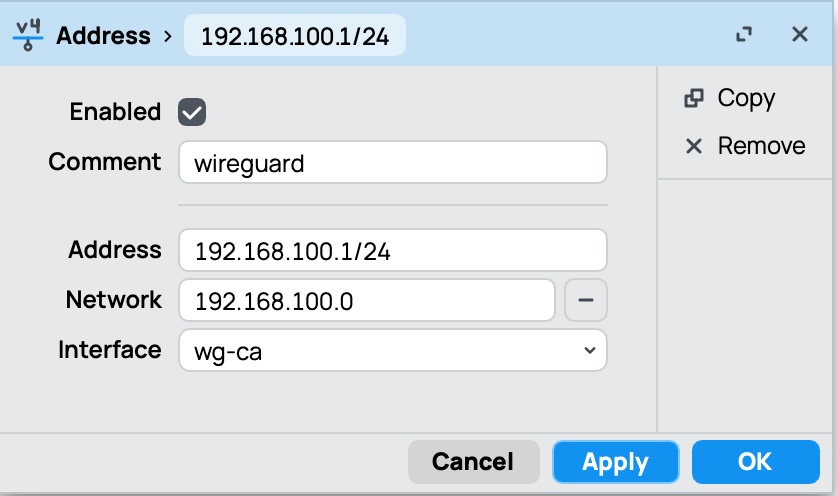
- Navigate to
/ip/address - Create a new IP address entry
- Enter the IP address you want to assign to the WireGuard interface (e.g.,
192.168.100.1/24) - Select the WireGuard interface you created in the previous step
wg-ca - Optionally, you can set a comment for the address (e.g., “WireGuard VPN”)
Configure Peers (Remote Devices)
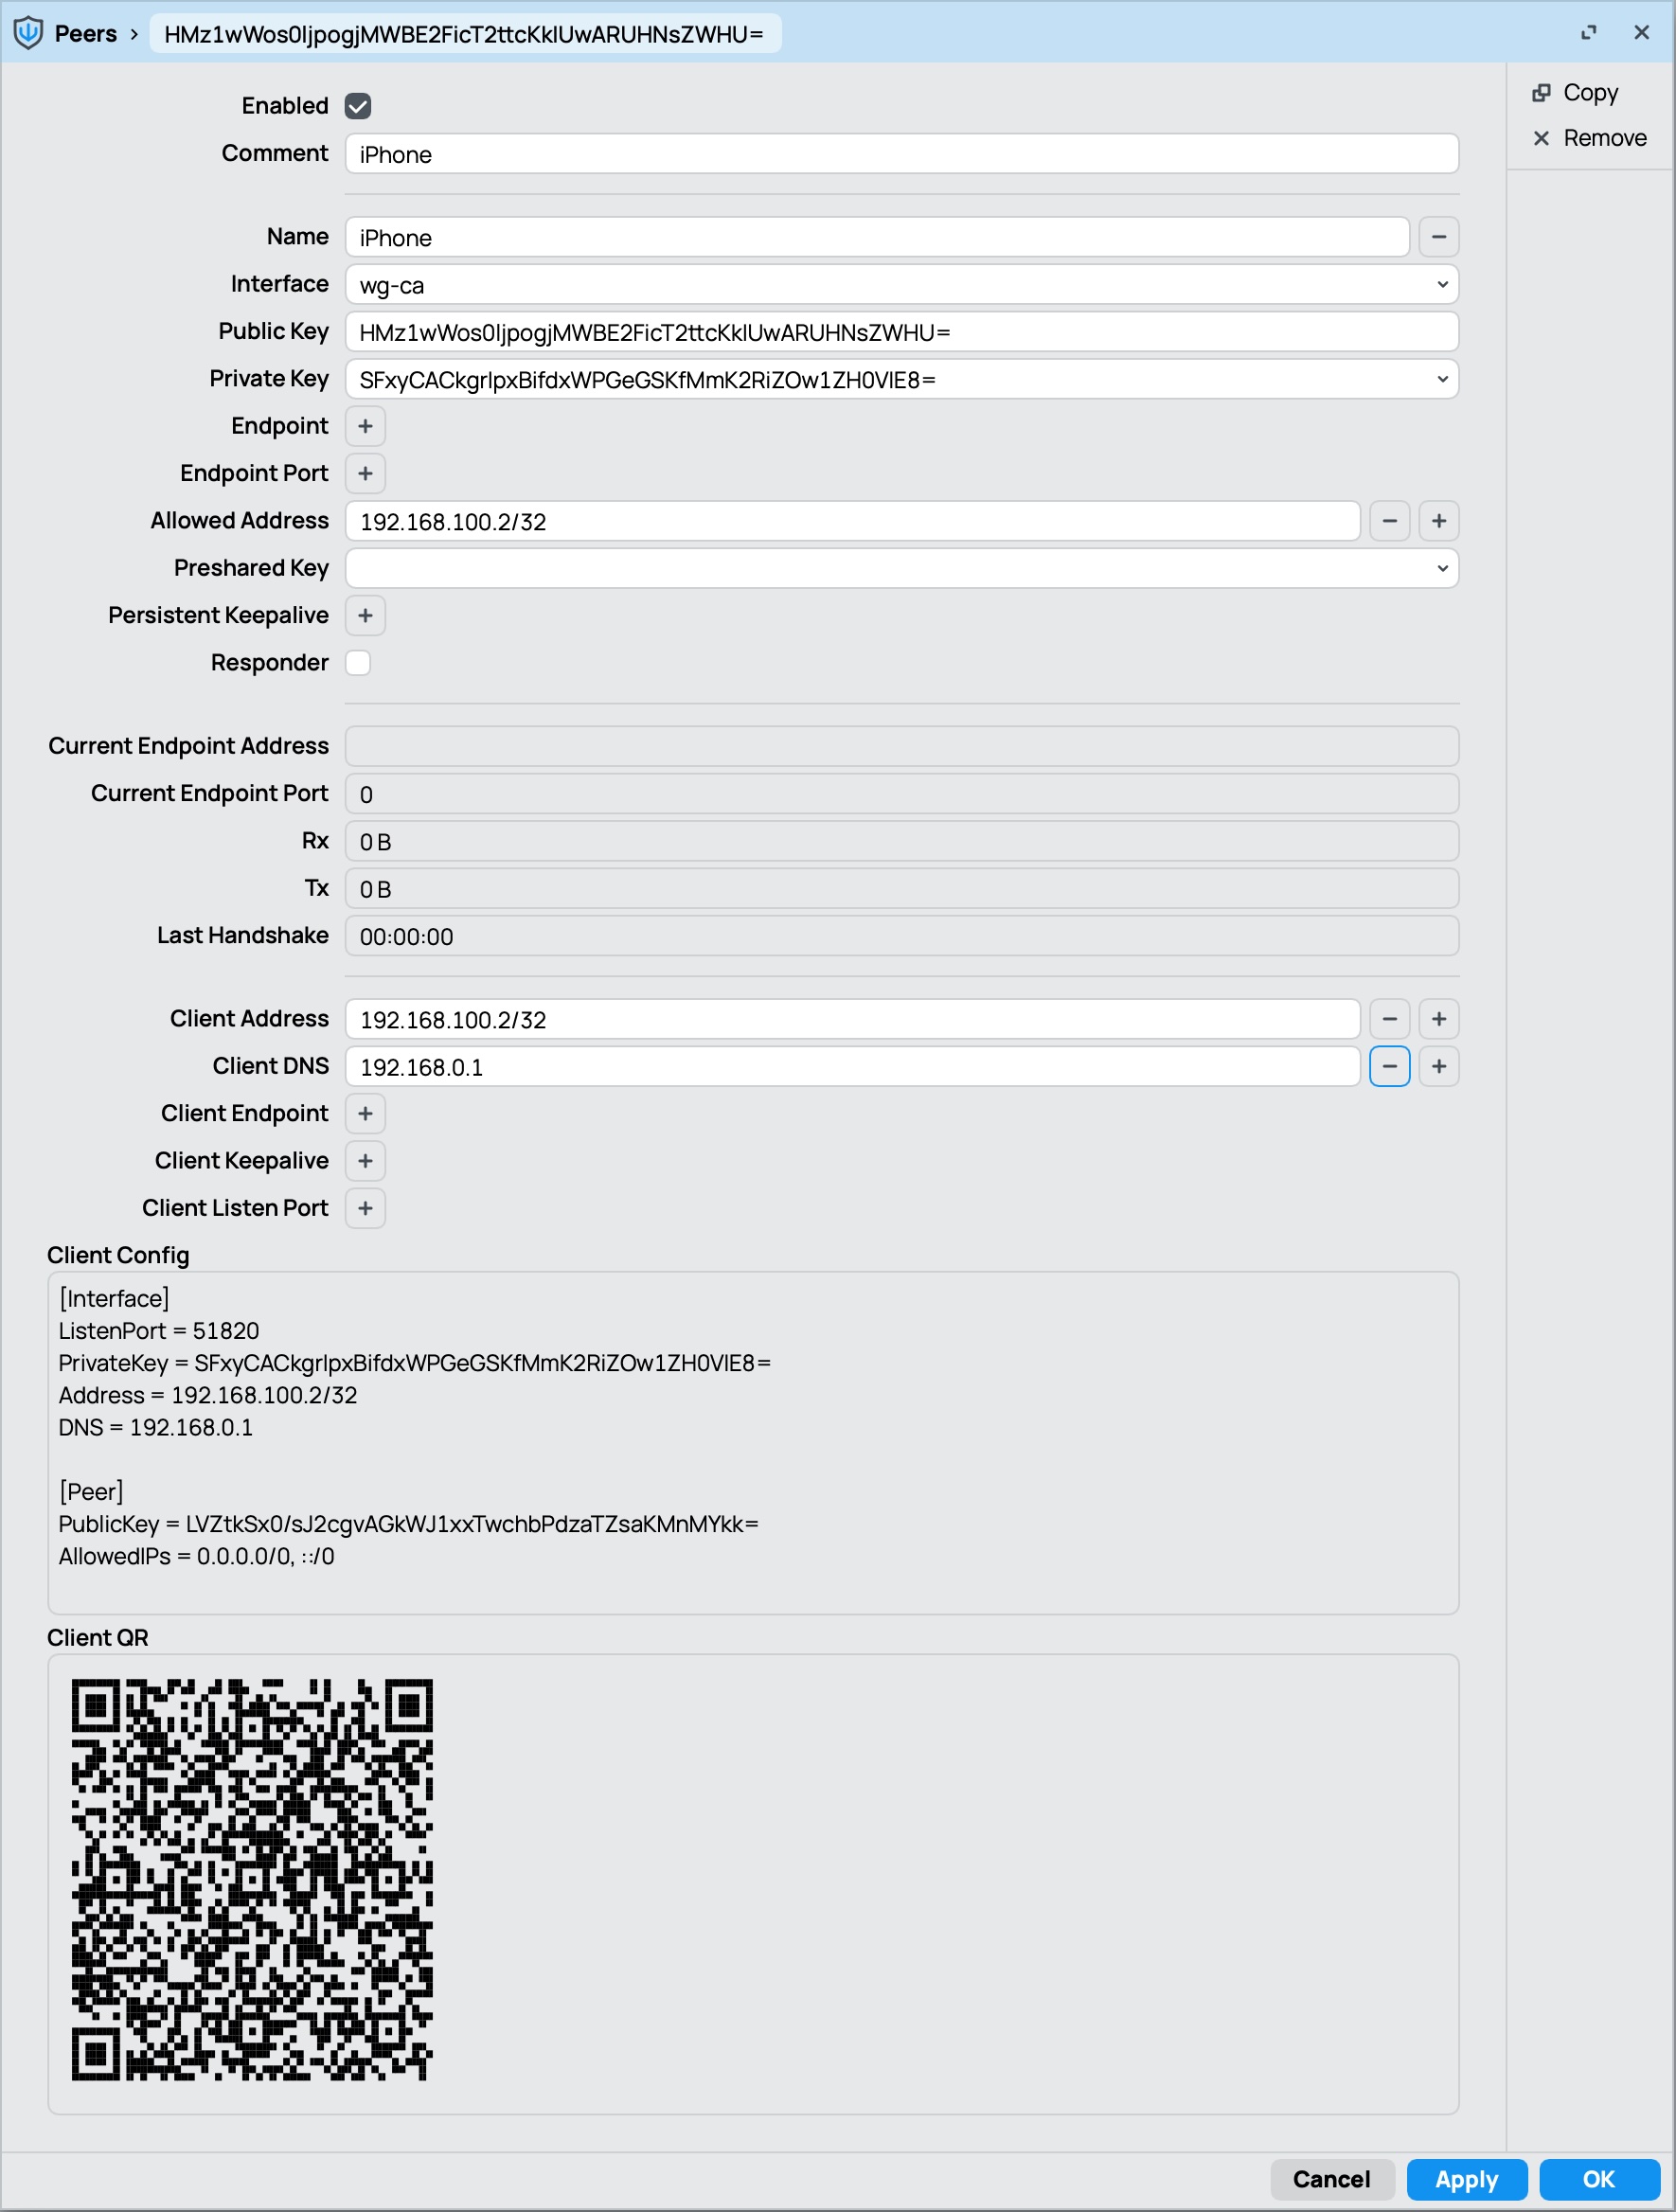
- Navigate to /interface/wireguard/peers
- Create a new peer for each remote device
- Give the peer a name (e.g.,
iPhone) - Optionally add a comment to identify the peer
- Select the WireGuard interface
wg-ca - Set private key to auto, MikroTik will generate it for you along with public key
- Specify the allowed addresses – these are the IP addresses or subnets on the remote device’s side that the MikroTik should accept traffic from (e.g., the client’s IP address or the entire remote subnet). e.g.
192.168.100.2/32 - Put the same value into Client Address field
- Set Client DNS to
192.168.100.1 - Press Apply to see Client Config snippet and Client QR for it
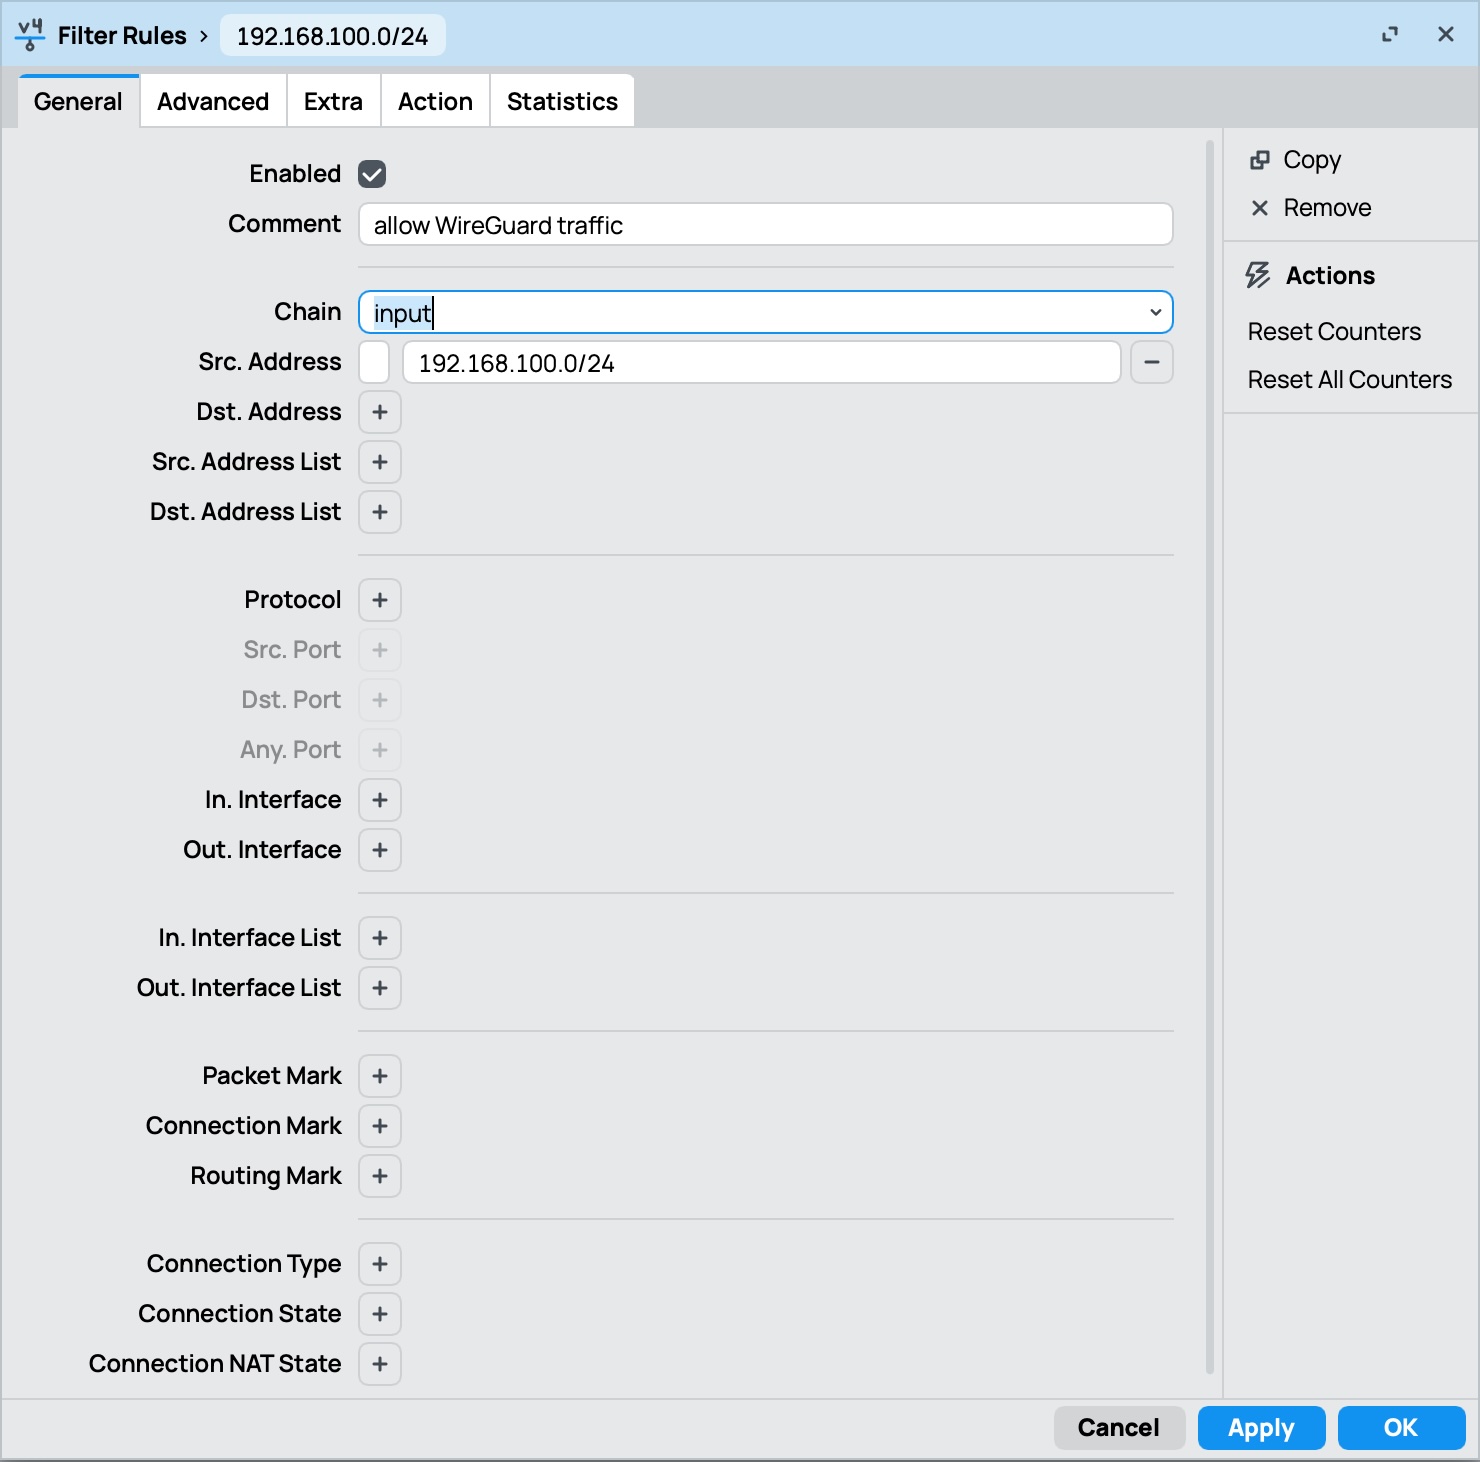
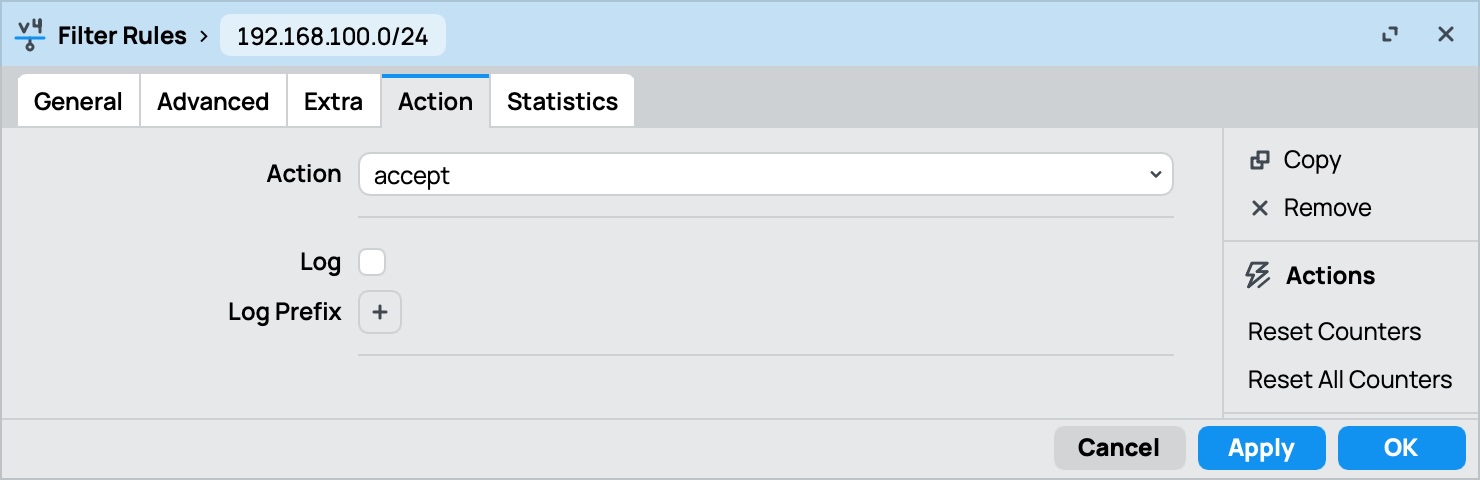
Firewall Rules:
- Create a firewall rule to allow incoming connections to the WireGuard listen port on the MikroTik
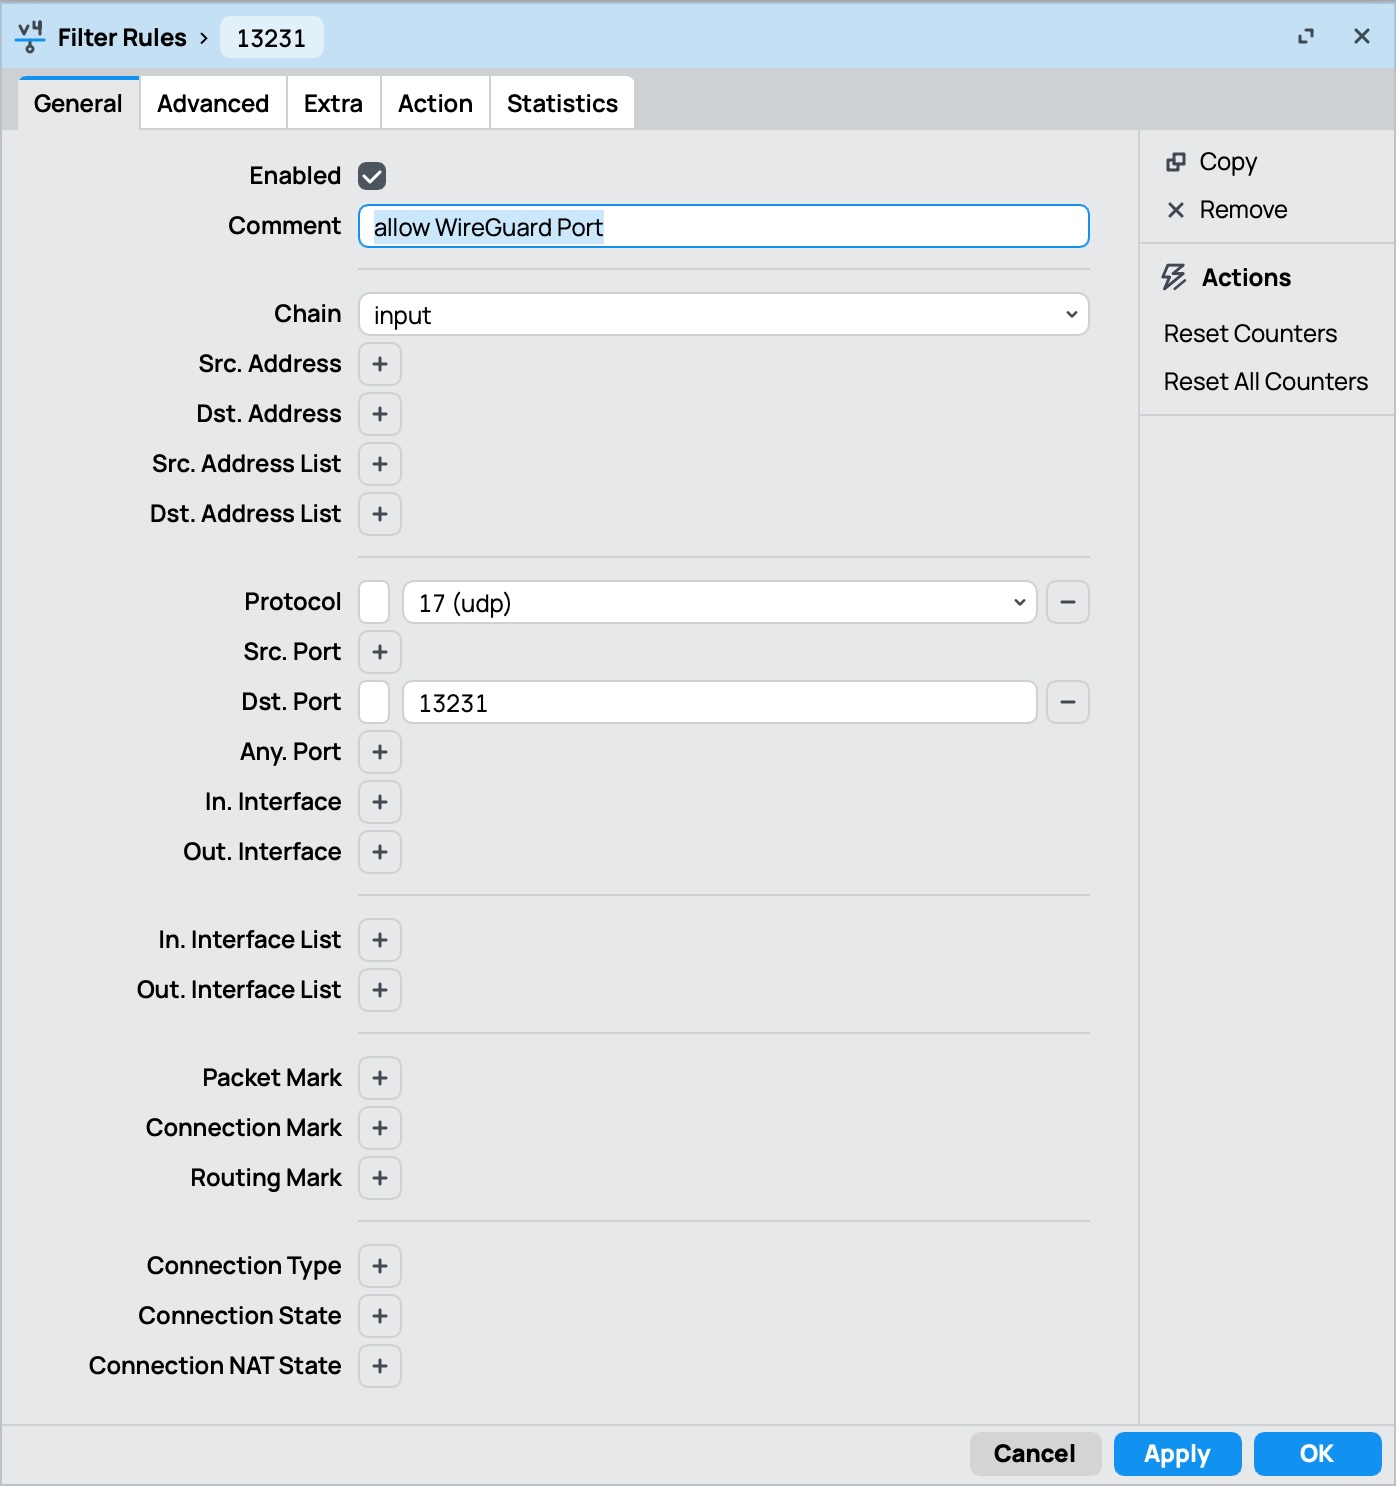
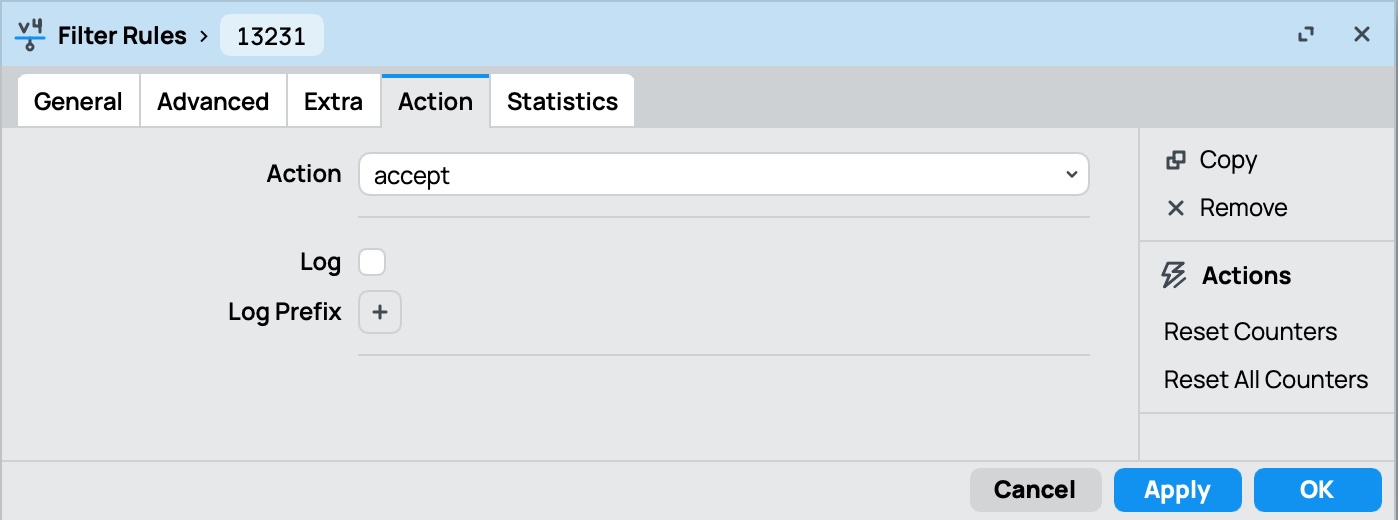
- You might also need to create rules to allow traffic between the WireGuard interface and the local network (if your default firewall policy is not permissive)
Configure the WireGuard Client (on mobile device)
- Install the WireGuard client software on your remote devices (available in App Store and Google Store)
- Add a new WireGuard tunnel and then choose
Create from QR code- scan QR generated by mikrotik for the peer created before - Give it a name e.g. same as mikrotik interface
wg-ca - Tunnel created from QR code does not contain Endpoint (even if you add it to the Peer config). To fix it press
Editand set Endpoint IP:31231, where IP is public IP address of your mikrotik router or a DNS name.